TABLE OF CONTENTS
Introduction
With the iNaturalist app, it's possible to sort and filter iNaturalist's 350 million+ observations by using the Explore screen. This help page will show you the basics, and you can then test out the various filter, sort, and view options on your own.
At the bottom of any screen in iNaturalist, tap on the magnifying glass icon to see the Explore screen. We strongly recommend turning on location permissions if you want to easily look for observations near you.
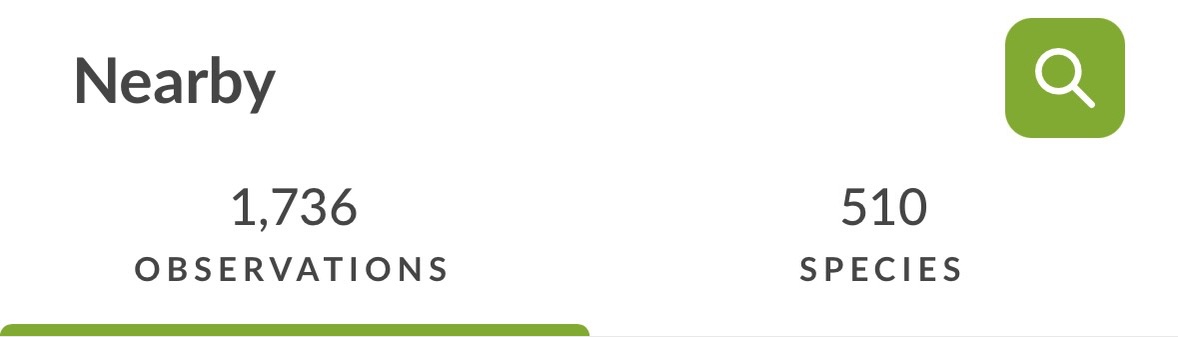
The Explore screen is made up of two main sections. The top section displays the search on the left, the Search icon on the right (the magnifying glass), and two tabs of results below: Observations and Species.
The middle of the screen displays the results of the current search. This may appear as a list, a grid of tiles, or a map, depending on your current search. Below is the list view.
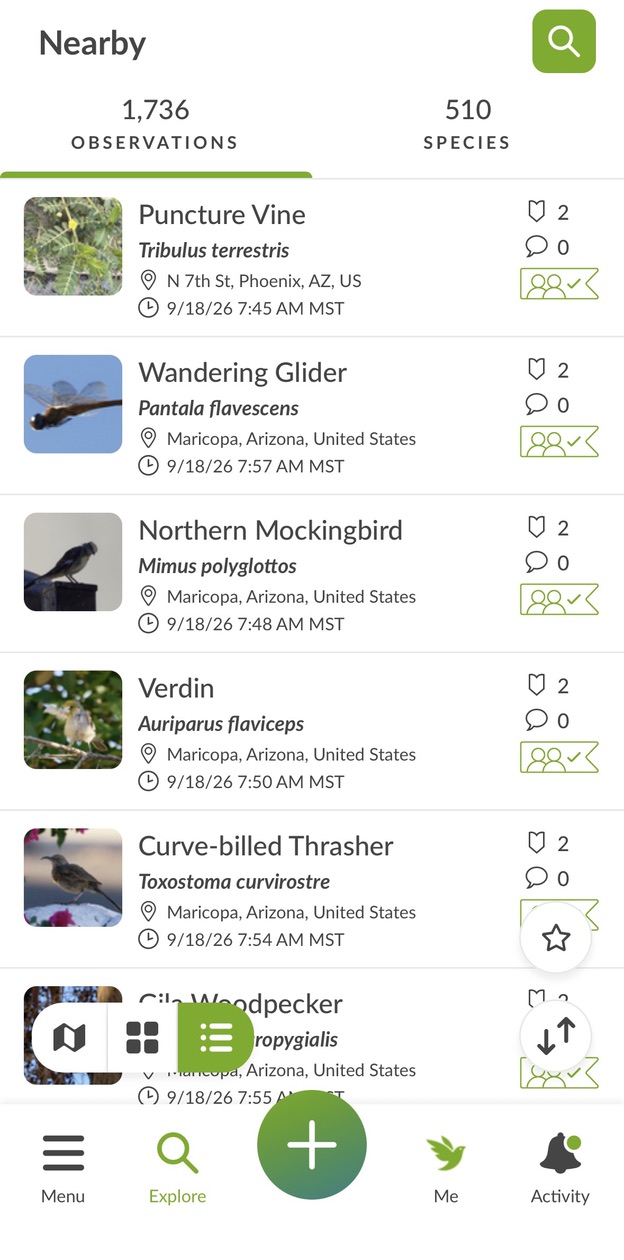
Let's walk through some example uses of the Explore screen, assuming you are letting iNaturalist access your location.
Observations Search
- Open up the Explore screen by tapping on the Explore option at the bottom of any screen. By default, iNaturalist's Explore screen searches for observations and is filtered to display only verifiable observations.
- iNaturalist will automatically zoom to your current location in a map view. The number of observations listed at the top are all verifiable observations in a 1 km radius of your current location, which is what "Nearby" means in this context.
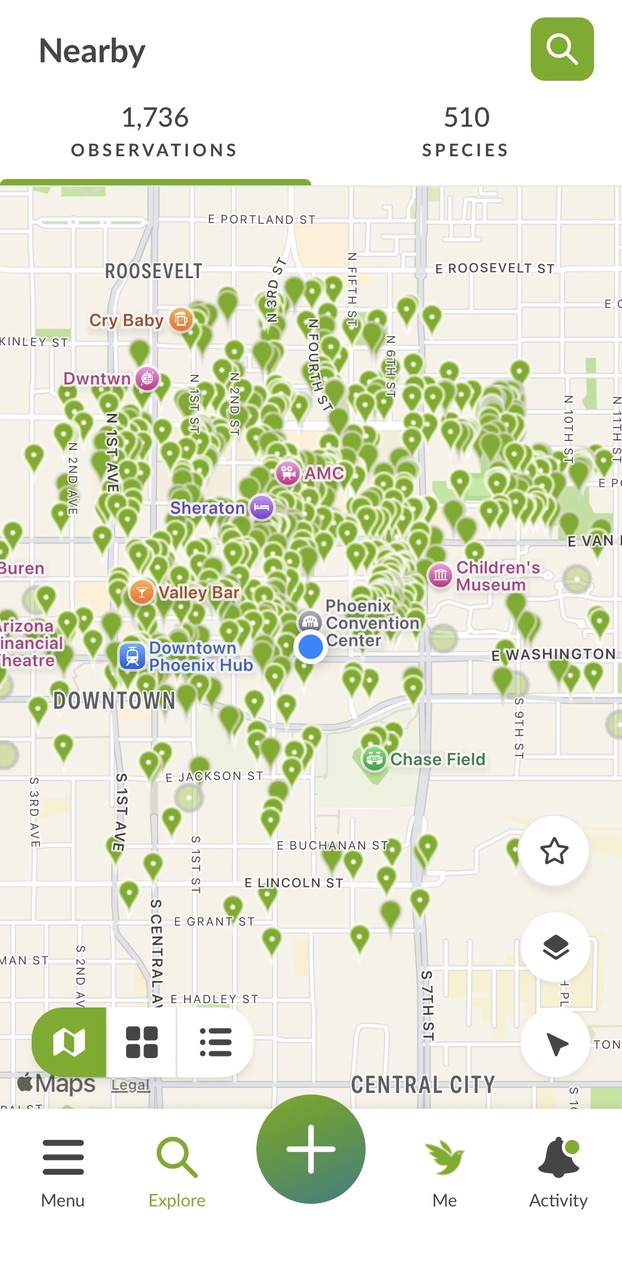
- Each pin or dot shows you an area where at least one observation was made.
On the lower right-hand side you can tap on the compass arrow to bring the map back to your current location, or tap on the layers icon to change map layers (for example, from regular maps to satellite view). - You will also see a view chooser with three icons on the lower left-hand side:

From left to right, these icons mean- Map view: (currently selected): view observations, based on your current filters, on a map.
- Grid view: view observations, based on your current filters, as a grid of tiles. This view emphasizes images over information.
- List view: view observations, based on your current filters, as a list. This view emphasizes information over images.
- Map view: (currently selected): view observations, based on your current filters, on a map.
- In Map view, scroll or zoom a bit so you see a different area of the map. Once you do so, you'll see a large green button that says "Redo Search in Map Area". Tap on that to redo your current search only in the area shown on the map.
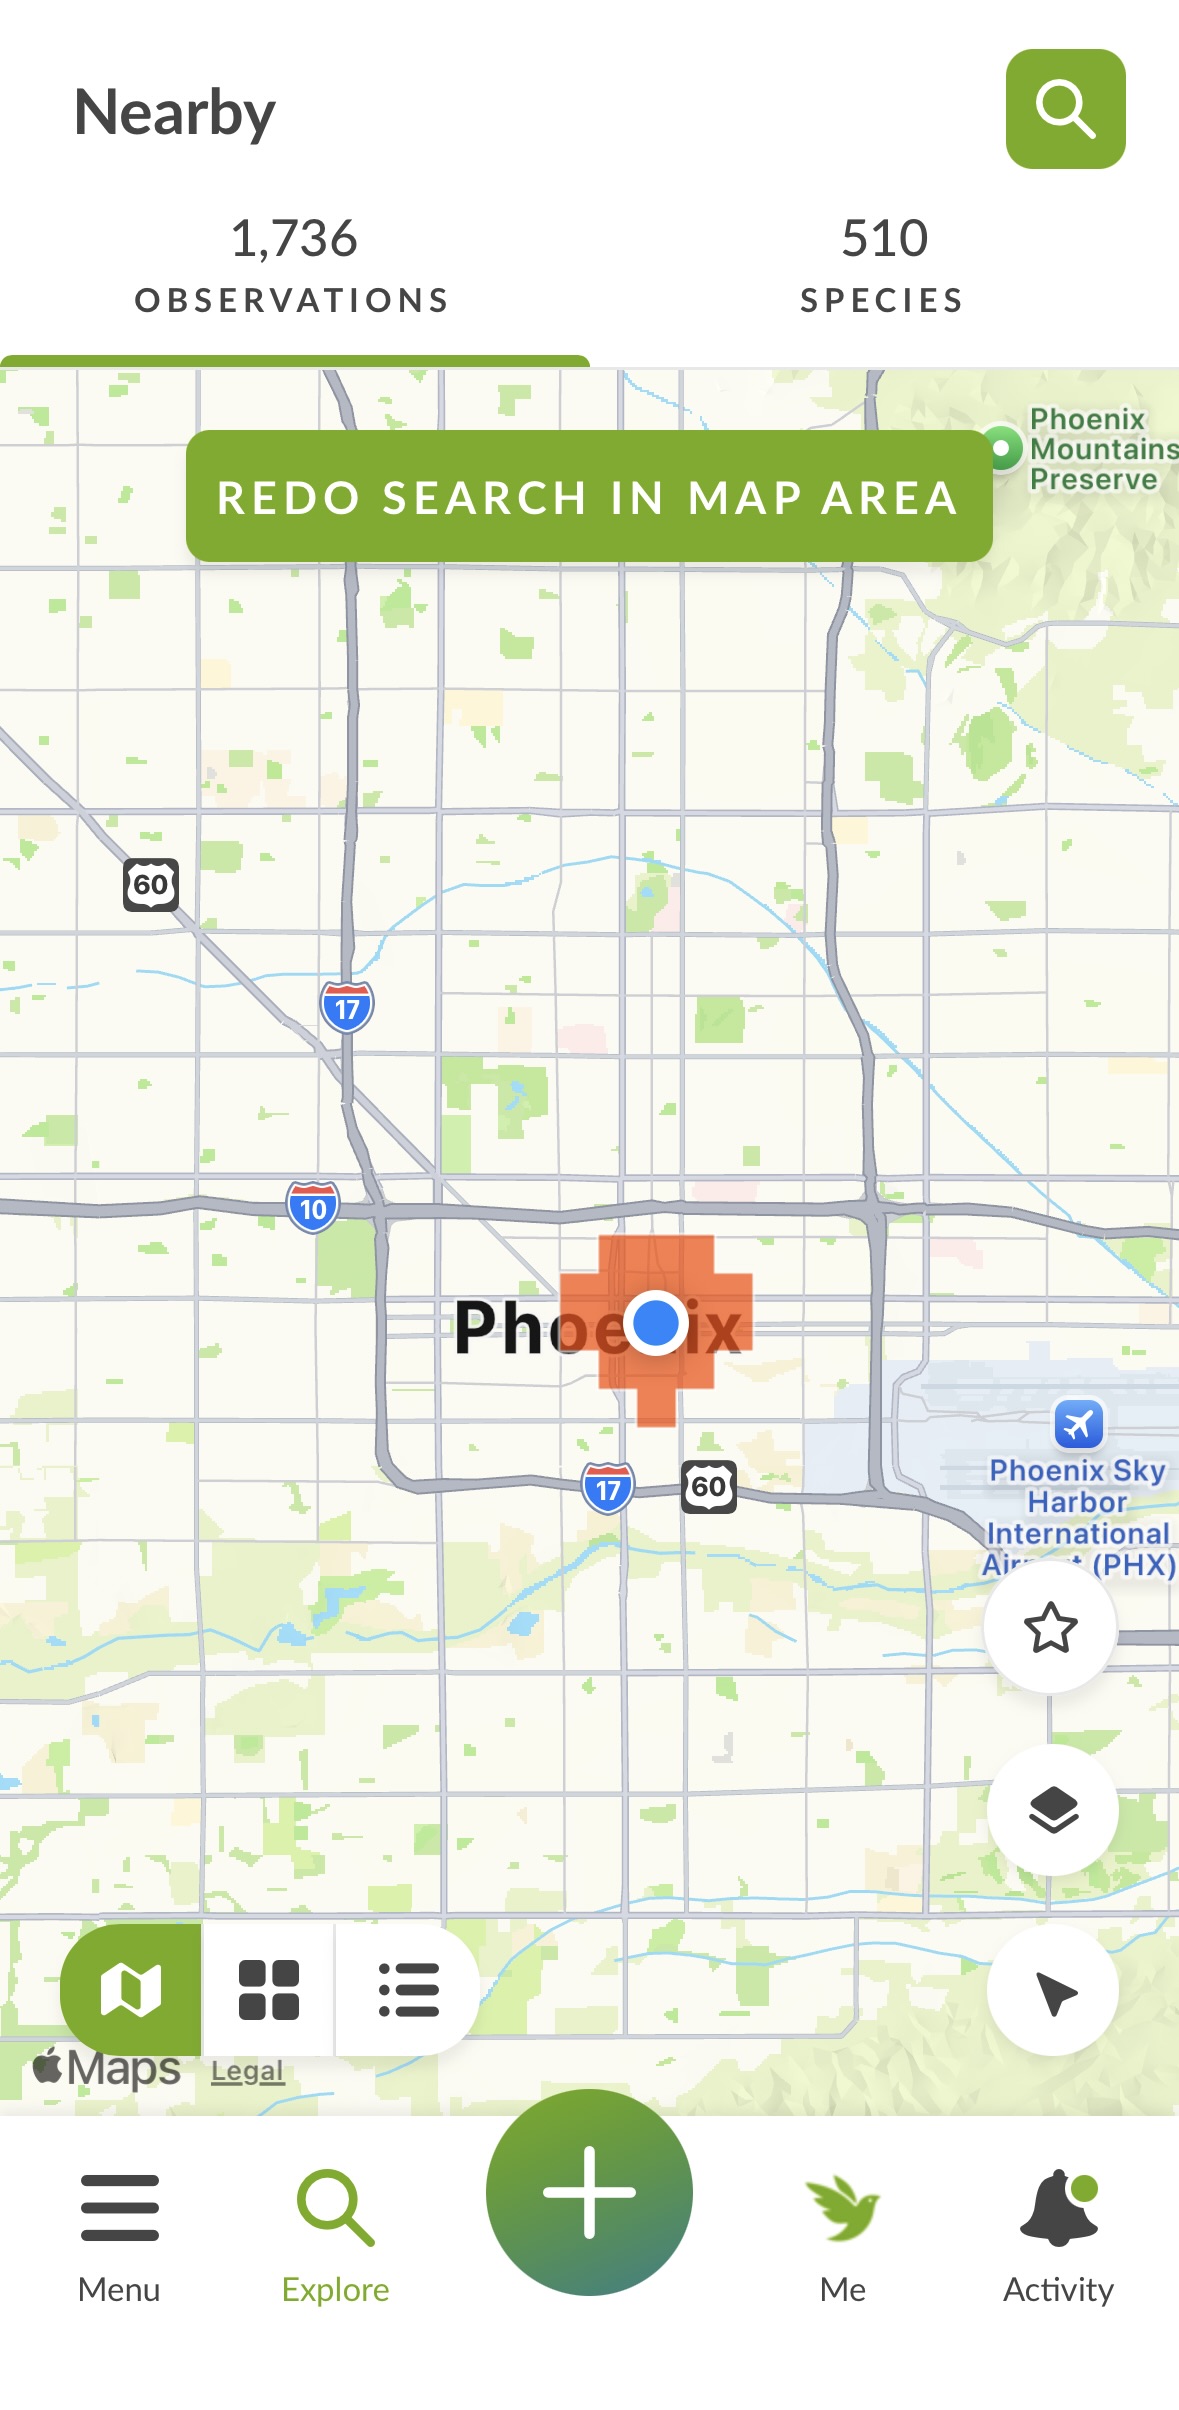
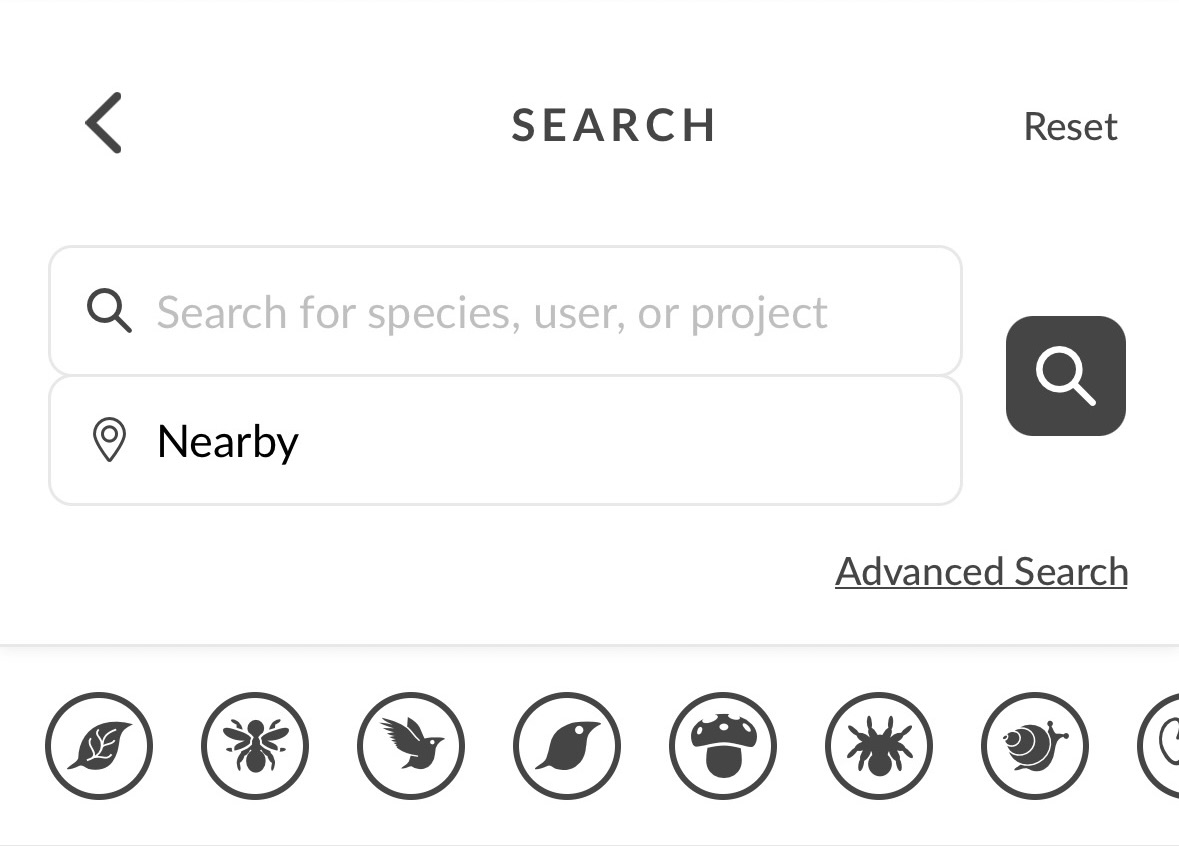
Each pin represents an observation with "open" geoprivacy, each dot is the public location of an observation with "obscured" geoprivacy. Tap on a pin or dot to open an observation if you like. - Now try to search/filter the observations in your search area. Go to the top of the screen and tap the Search icon (the magnifying glass), which will take you to the Universal Search screen. You'll now see a few ways to search observations. At the top of the search screen are a few search options, plus a link to more advanced filters with "Advanced Search". Below "Advanced Search" is a row of iNat's "iconic" taxa, for quick basic taxonomic filtering, such as for mammals, plants, or mollusks.
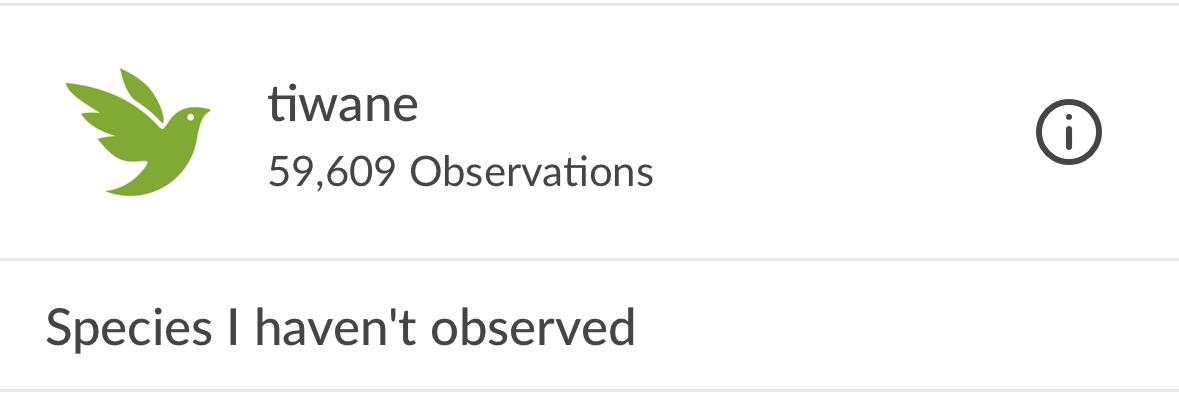
Below that top area is a section with a few quick filters: filtering for observations by you (in this screenshot the user is tiwane), and a "Species I haven't observed" filter, that allows you to search an area for species you have not seen and might want to look for.
- Tap on the "Search for species, user, or project" field. Type in "flowering plants" and choose the taxon from the menu.
- Tap on the magnifying glass icon to perform the search. The app will now show you all flowering plants in your search area. You can use the view switcher to see them in a different view. Below is the map view.
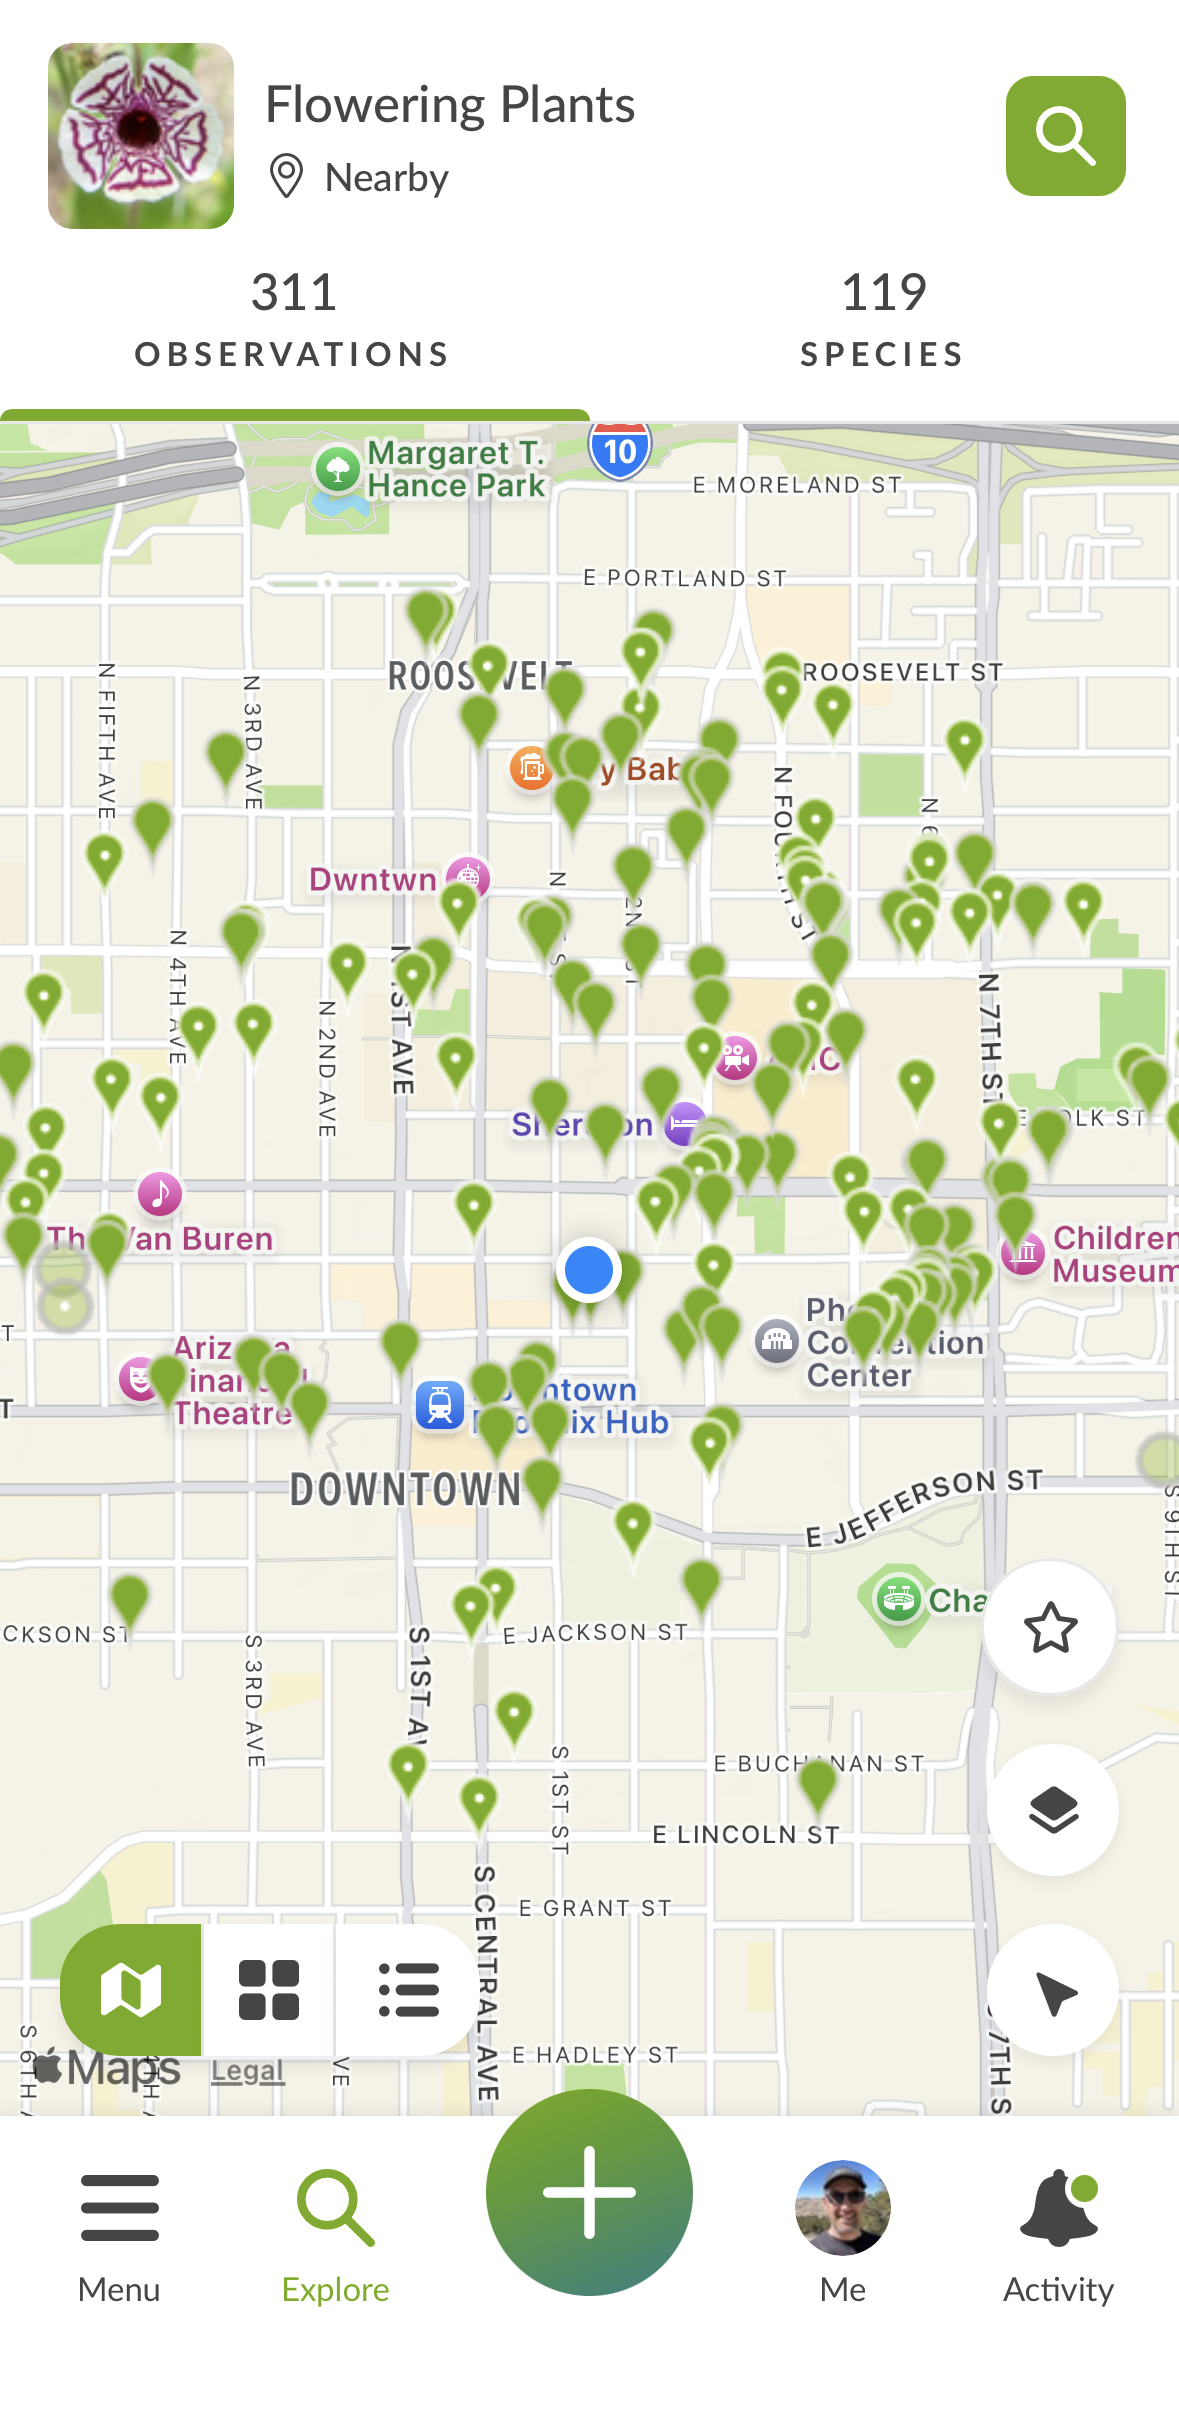
- Tap on the Search icon again to edit or add more filters. For example, you could filter by an iNaturalist Place and only see flowering plants in that Place. You can also filter by date, data quality grade, and other options. Tap "Reset" on the top right-hand corner to reset and start again.
- Recent searches will be saved and displayed on the Universal Search screen. Logging out of the app will clear recent searches from this list.
Saving Searches
Once you have a search you like and want to use regularly, you can save it to easily access it again. For example, if you want to make identifications for others using the app, you can save a search that you use for identifying.
- On any search result, tap on the empty star icon on the right-hand side of the screen.
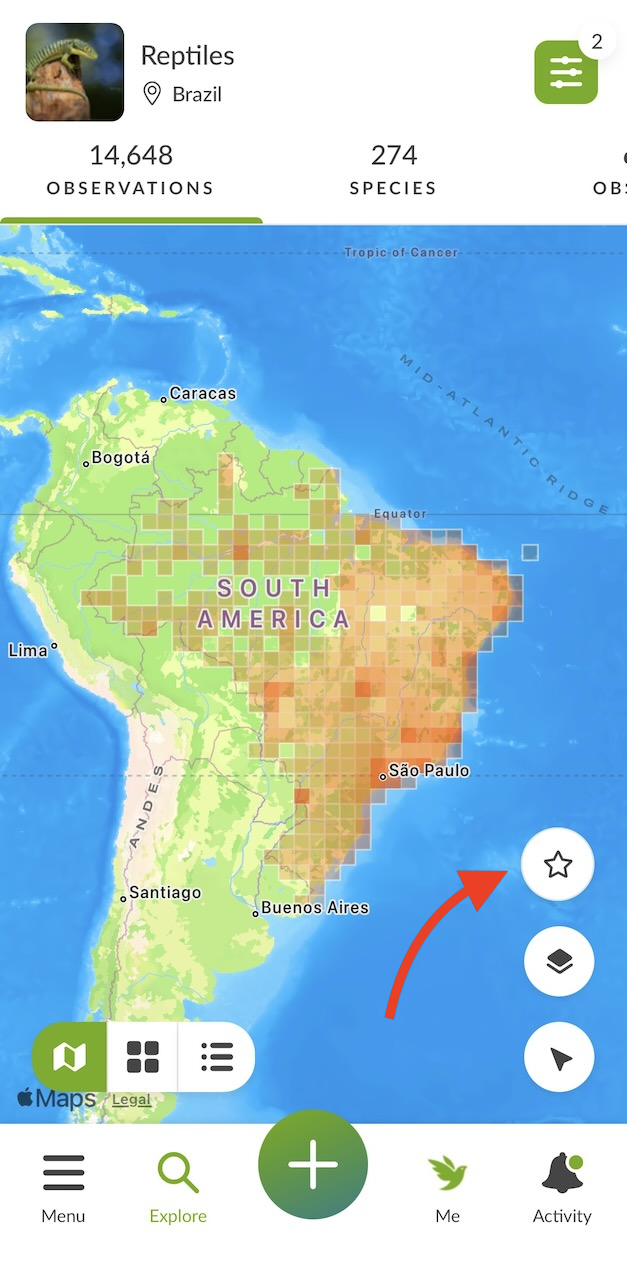
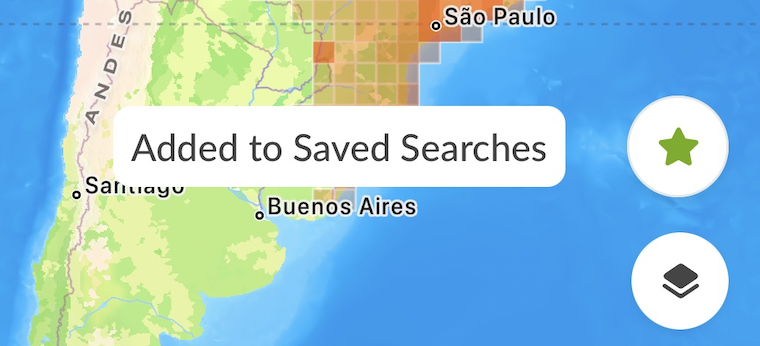
- The star icon will turn green and the app will tell you the search has been saved:
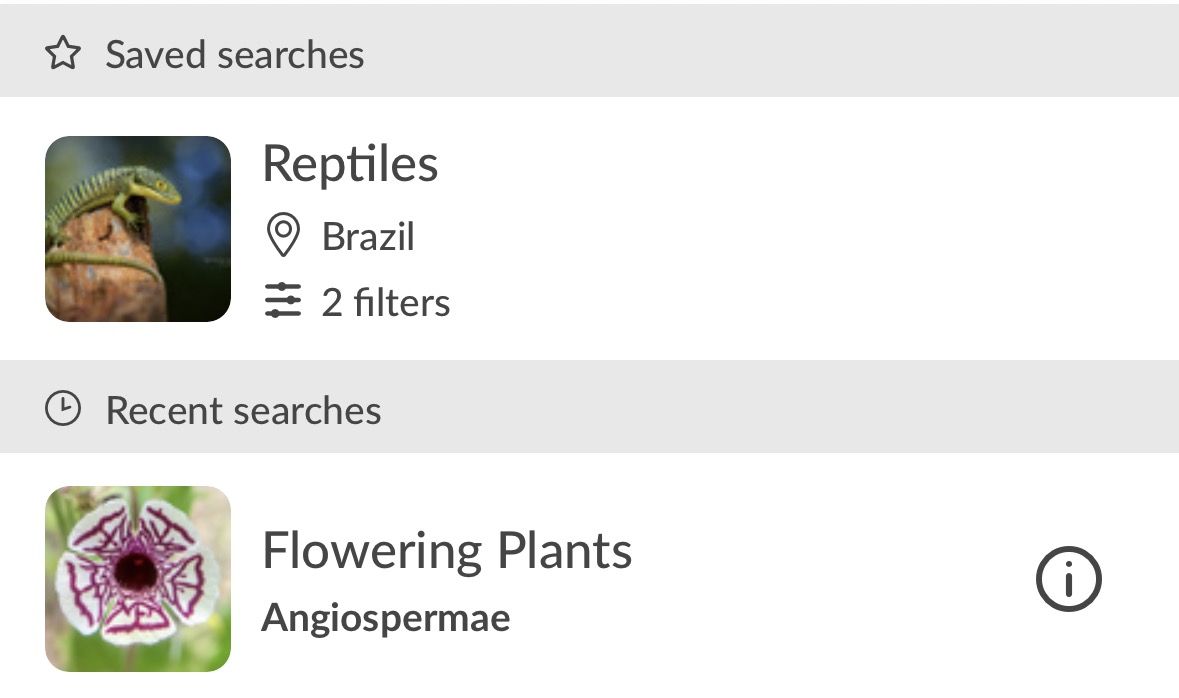
- Any saved Searches will now appear on the search screen, along with recent searches:
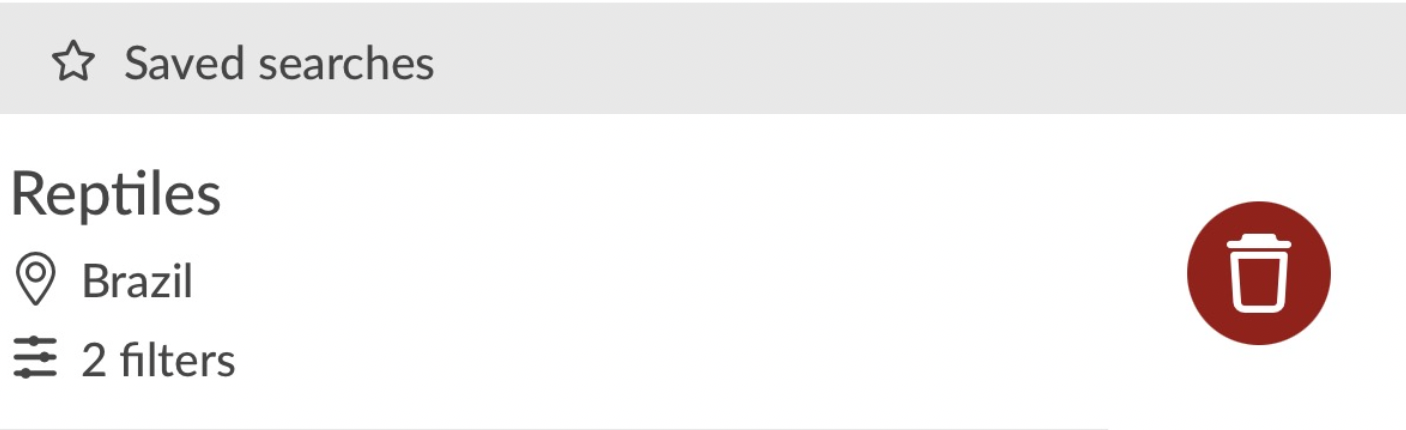
- You can delete any saved search by swiping left on it. That will reveal a red trash can icon (see below). Tap on it to delete the saved search. Note that logging out of the app will clear all saved and recent searches.
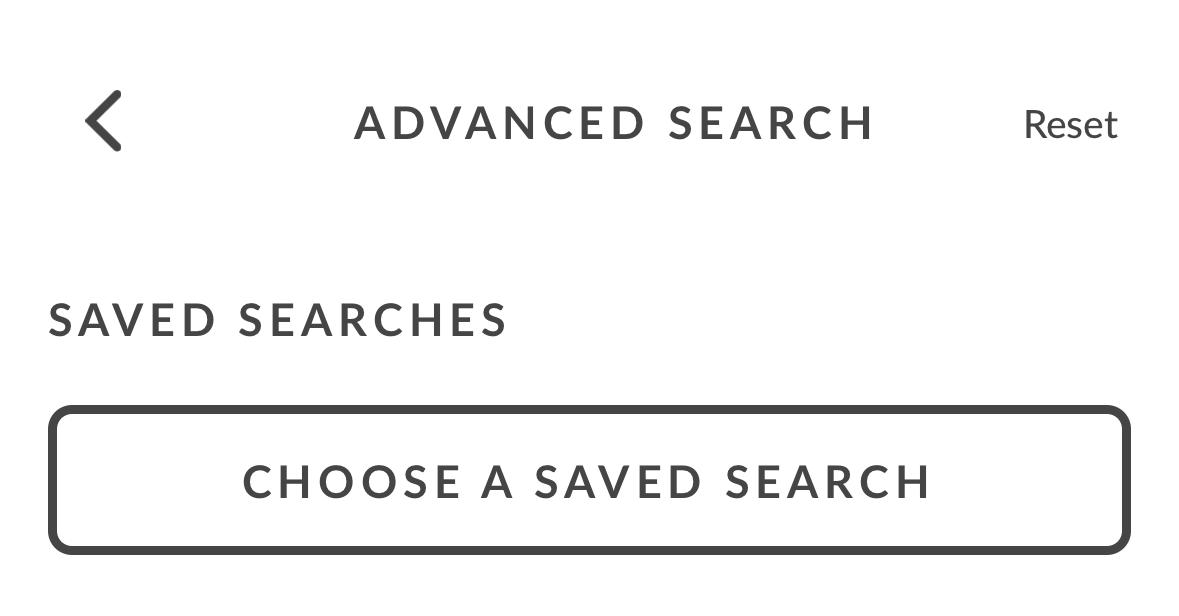
- A Saved Searches button will also appear on the Advanced Search screen:
Species I haven't observed
It's also possible to search for species you have not observed on iNaturalist, either worldwide or in a Place, by tapping on the "Species I haven't observed" option on the Universal Search screen. For example, you can see which species nearby you have not seen.
- On the Universal Search page, tap on "Species I haven't observed".
- "Nearby" should be selected. Then tap on the magnifying glass icon to perform the search.
- You'll now see all observations of species nearby that you have never observed on iNaturalist. Here's the Species tab view:
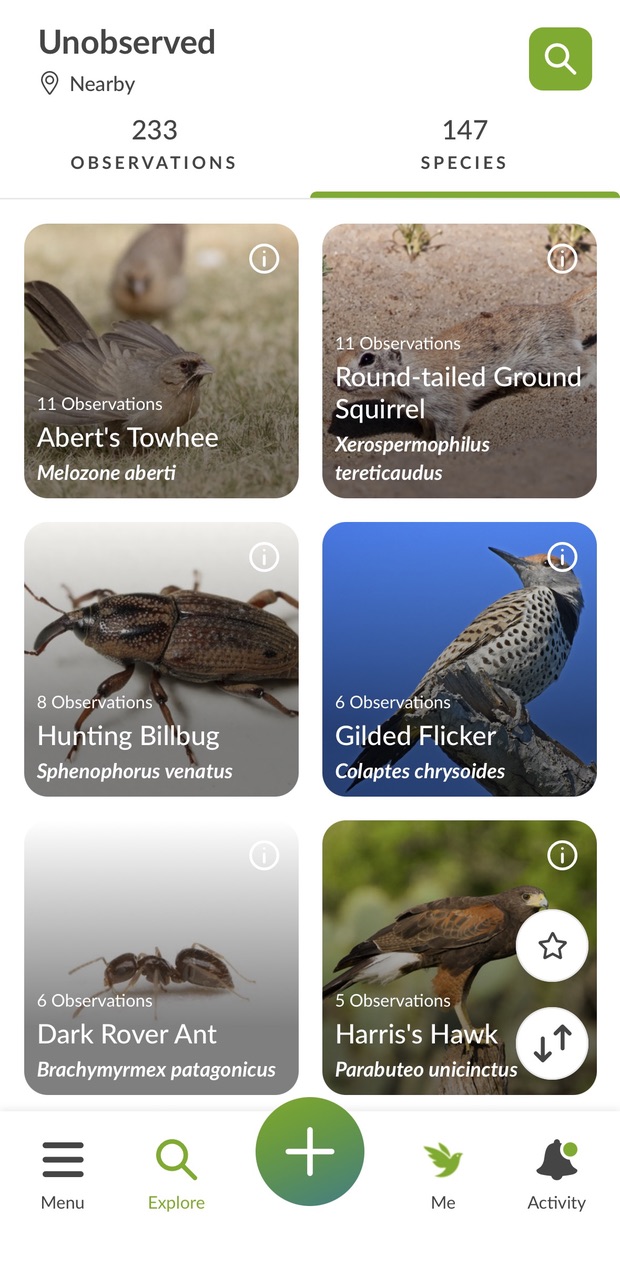
- You can perform this search for other Places, or restrict it by taxon, such as which plant or insect species you have not observed in a Place.
Advanced Search
On the Universal Search screen, you can tap on "Advanced Search" on the right-hand side to access more search filters that allow for more granular searches. You can select multiple filters here, and choose how to sort result.
Filter options are:
- Taxon
- Location
- Quality Grade
- User
- Project
- Taxonomic Ranks
- Date Observed
- Date Uploaded
- Media
- Establishment Means
- Wild Status
- Reviewed
- Photo Licensing
Sort options are:
- Date uploaded (Newest to oldest)
- Date uploaded (Oldest to newest)
- Date observed (Newest to oldest)
- Date observed (Oldest to newest)
Was this article helpful?
That’s Great!
Thank you for your feedback
Sorry! We couldn't be helpful
Thank you for your feedback
Feedback sent
We appreciate your effort and will try to fix the article